Half-term halloween crafts to keep them busy!
Posted 28th October 2024

Get ready to add some spooky fun to your Halloween celebrations with our latest blog post! We'll be exploring a variety of creative and easy Halloween crafts that are perfect for kids and adults alike, we've got all the inspiration you need to make this Halloween spooktacular...
So, grab your crafting supplies and get ready to unleash your creativity as we delve into the world of Halloween crafts.
Pumpkin painting and decorating
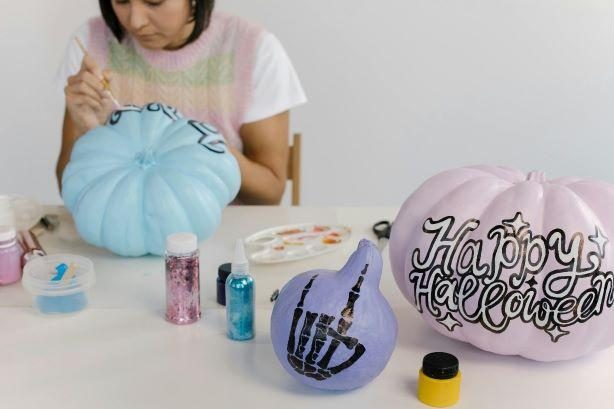
Now we know pumpkin carving is up there with Halloween crafts, but to save the pumpkin insides going everywhere (urgh...) try decorating them instead. Let your child’s creativity run wild with lots of different paint colours, marker pens, glitter and fabrics without the worry of pumpkin mess all over your kitchen. Use some accessories like googly eye, ribbons and sequins to add that special and unique personalised touch!
Here’s some inspiration to get ideas flowing:
- A scary face
- Spider's web with some spiders on it
- A cat
- Your favourite Disney character
- Words and fancy lettering
Once the masterpieces have been created you can display them where they can be admired by everyone!

Toilet Roll Bat
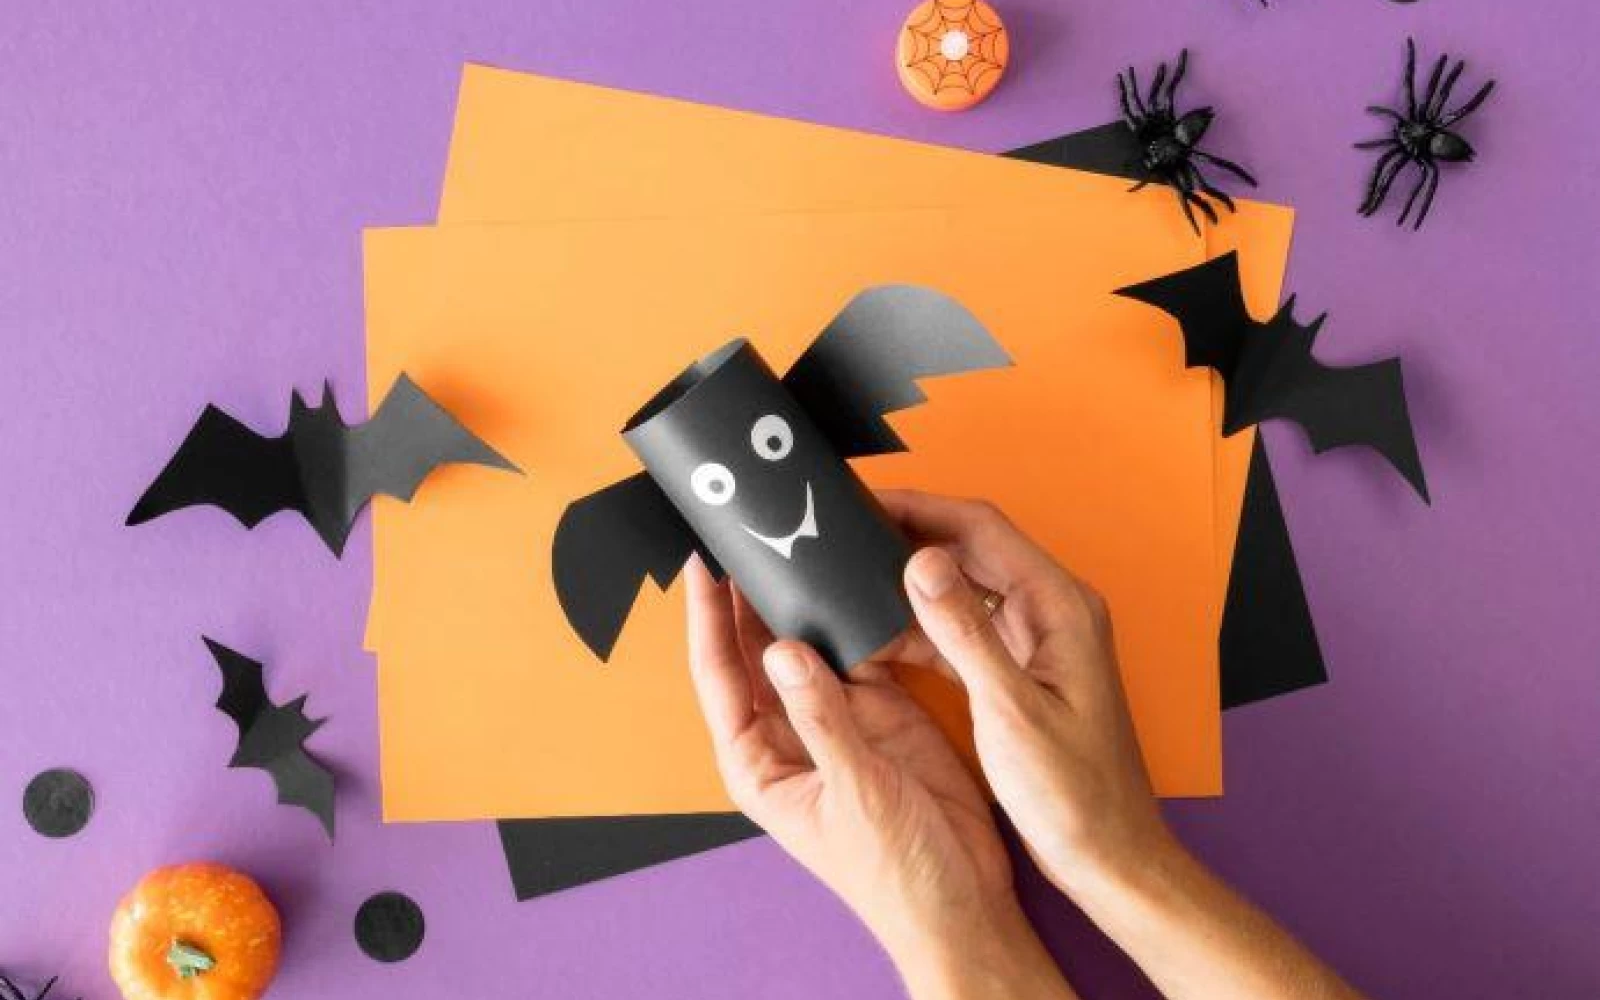
Our second craft idea is to use your empty toilet rolls (usually in plentiful supply!) and turn them into spooky scary bats.
What you’ll need:
- Empty toilet roll
- Blank paint
- Black card
- Glue
- White marker pen
- Googly eyes
- Scissors
- Pencil
Step 1
Firstly, you’re going to take your empty toilet roll and turn it black, which you can do by either using black paint or wrapping a piece of black card or paper around the roll and using a small dot of glue to hold it in place and then cutting the excess off once the glue has dried.
Step 2
Next, while you let your toilet roll dry, we’re going to shape and cut out the wings for the bat. You can make your wings any shape you want, but to make it easy, cut a small section of your black card which is roughly 15cm by 15cm, this will give you an appropriate size to work with.
Once, you’ve cut the piece of card, use a pencil to draw out an outline for your wings, be as creative as you want with the shape of the wings, there is no right or wrong. Then once you have the perfect shape of your wings, use a pair of scissors.
Step 3
When your painted roll is completely dry, we can begin to add the facial features. Use a white marker pen to draw on any facial features you want, eyebrows, nose, fangs anything like that will look good on your bat!
Step 4
When you have finished adding all your facial features to your bat, we can add the wings you cut out earlier to the back of your bat. Place a few dots of glue on the back of your bat and place the middle of you wings onto the glue dots and let that dry.
Once dry, your bat is complete!
Paper Plate Pumpkin
Finally, how about a good old paper plate pumpkin to brighte your walls? To make this fabulous pumpkin you will need:
- Orange paint or tissue paper
- Paper plate
- Green and black card
- Scissors
- Glue
- Pencil
Step 1
Firstly, we’re going to take our paper plate and paint it orange, this is going to be the base for our pumpkin. Or if you don’t want to use paint, you can glue orange tissue paper onto the plate as an alternative.
Step 2
While we let the plate completely dry, we can begin to cut out our pumpkin’s eyes, nose and mouth. Take the black card and the pencil, and draw an outline of the shape you want the facial feature to be. Once you have the perfect outline, use the scissors to cut them out. Alternatively for less cutting, you can draw on the facial features with a black marker!
Step 3
Now we’re going to take the green card to make to top of our pumpkin. We’ll do the same as what we did for the facial features by taking the pencil and drawing an outline of the shape of the pumpkin top and cut it out once complete. You can also create some cute pumpkin 'vine tendrils' with long, thin pieces of green card, wrapped around a pencil to curl them!
Step 4
Finally, once the paper plate is dry, we can glue all of the cut-out pieces to the pumpkin base, eyes, mouth and nose in the middle of the plate then glue the green pumpkin top to the top of the plate along with the tendrils.
Now you have your very own paper plate pumpkin!

Have a spooktacular time!
We hope you have a spooktacular time with these Halloween crafts. Whether you're creating creepy decorations or going trick or treating, there's no limit to the fun you can have on Halloween.


